Soil Testing for Agricultural Productivity
Soil testing is a vital practice for maintaining soil health and ensuring optimal crop growth. Typically, soil samples should be collected every three to four years. However, if you cultivate multiple crops within a single year, you should consider annual soil sampling to monitor critical nutrient levels, especially nitrogen, which can fluctuate significantly year to year.
When to Take Soil Samples
The best time to collect soil samples is either immediately after the harvest of your Kharif crop or during April-May. Avoid sampling within three months after applying organic or chemical fertilizers, as this could lead to inaccurate nutrient readings. If the soil is wet at the time of sampling, dry it in the shade before packaging.
Guidelines for Collecting Representative Soil Samples
1. Sampling Strategy: To obtain a representative soil sample, consider factors like area, location, drainage, soil color, texture, types of crops, and irrigation practices. For varied terrain, aim to take different samples from half to two hectares each.
2. Field Differentiation: Segment your land based on distinct characteristics like crop type, moisture content, and slope. This helps ensure that each sample accurately reflects the conditions of the specific section of the field.
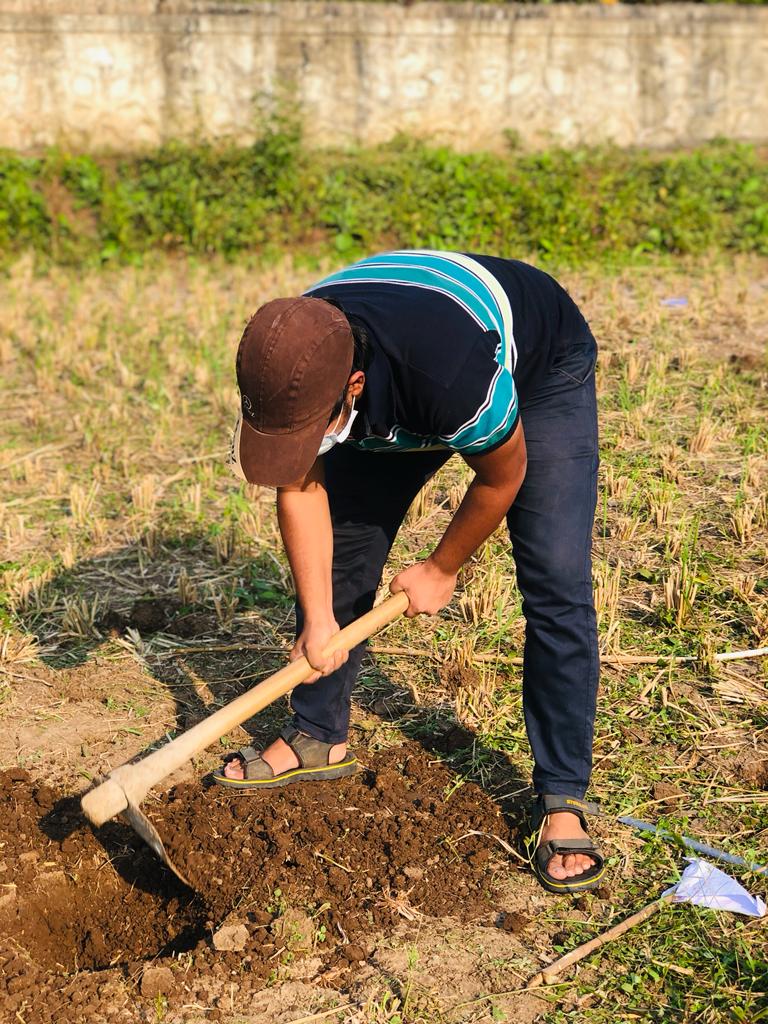
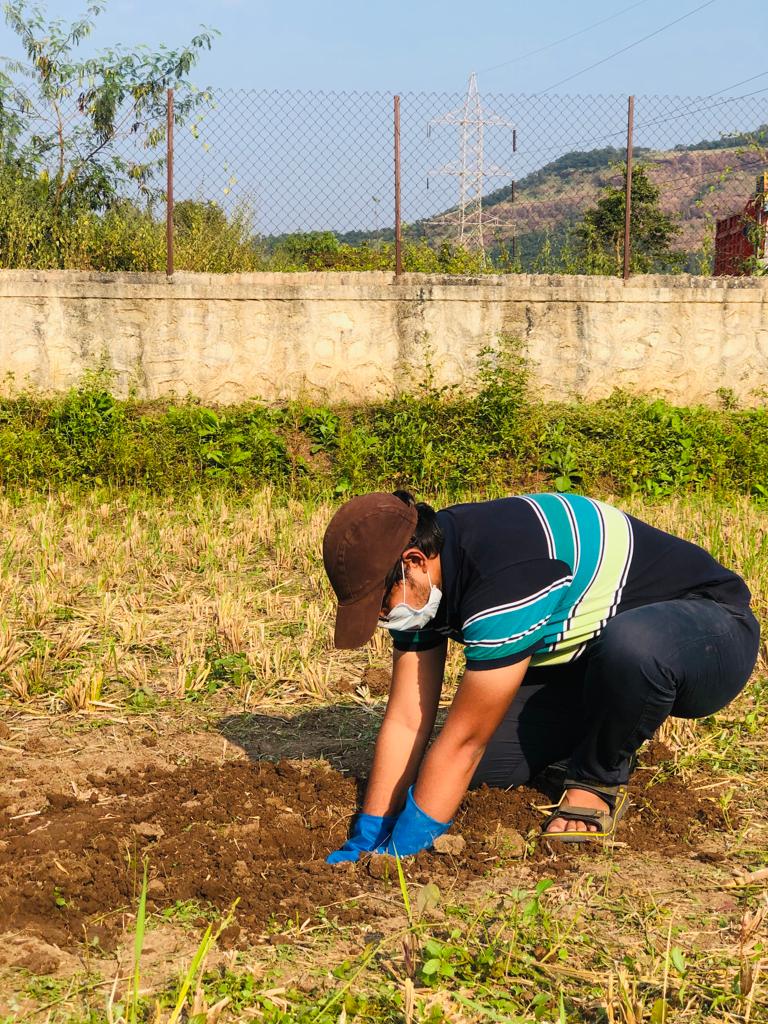
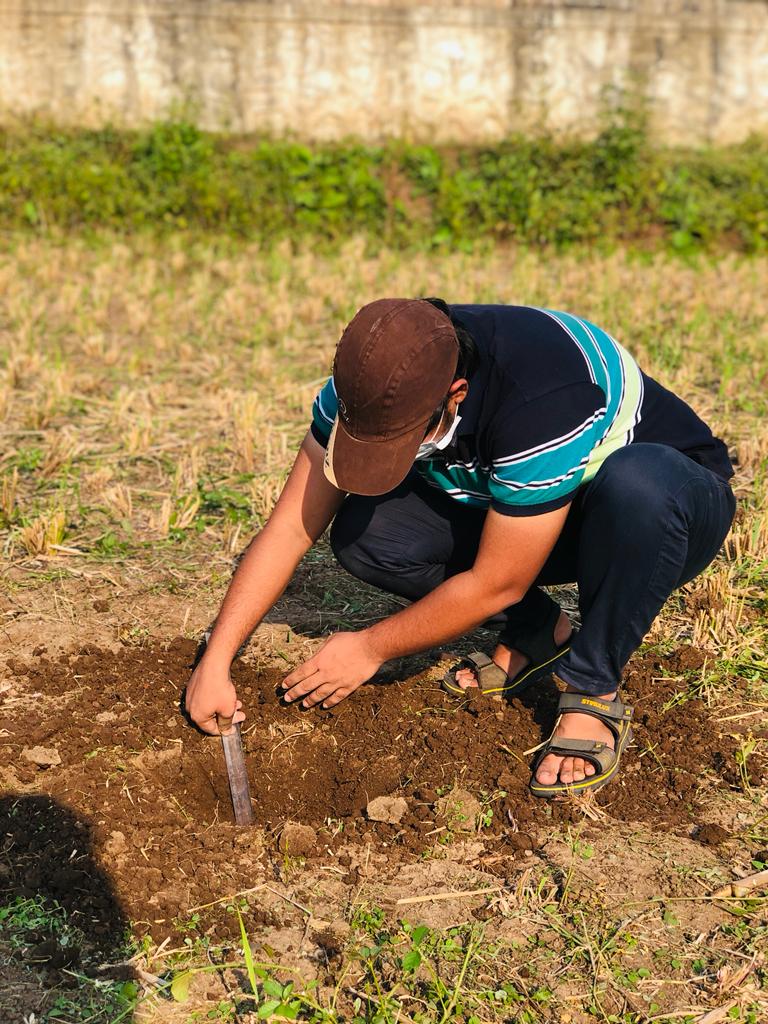
3. Required Tools: Prepare the necessary tools for soil sampling, including a pick, shovel, hoe, auger, sandpaper, polythene or tarpaulin sheet, sackcloth, and cloth bags.
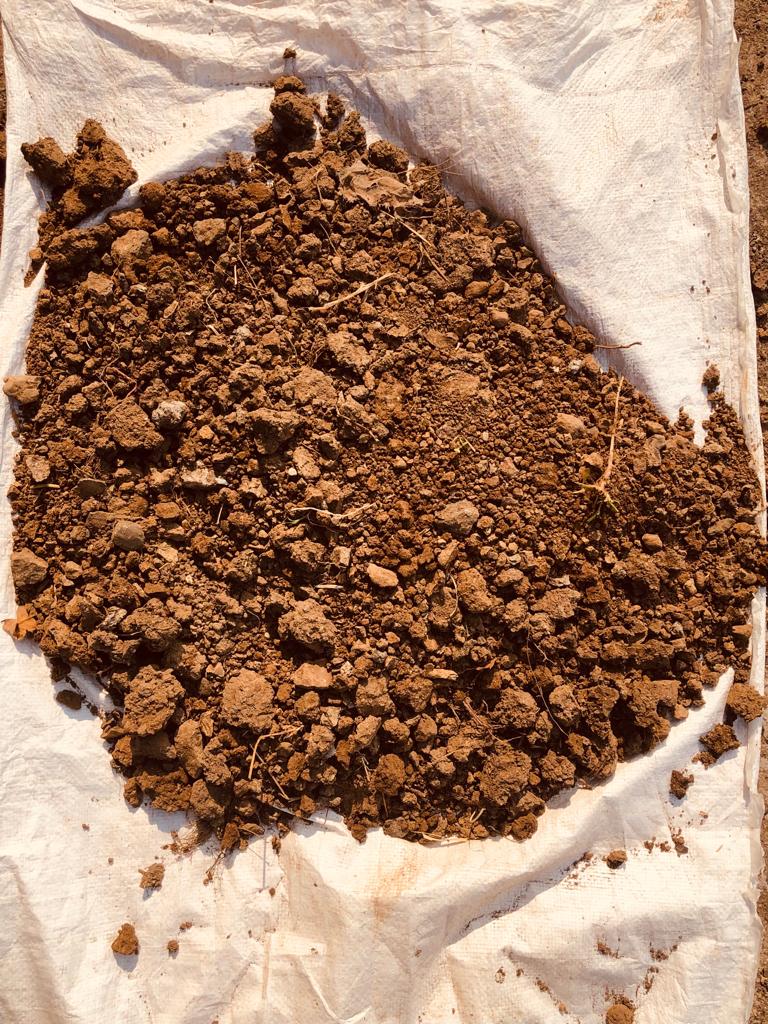
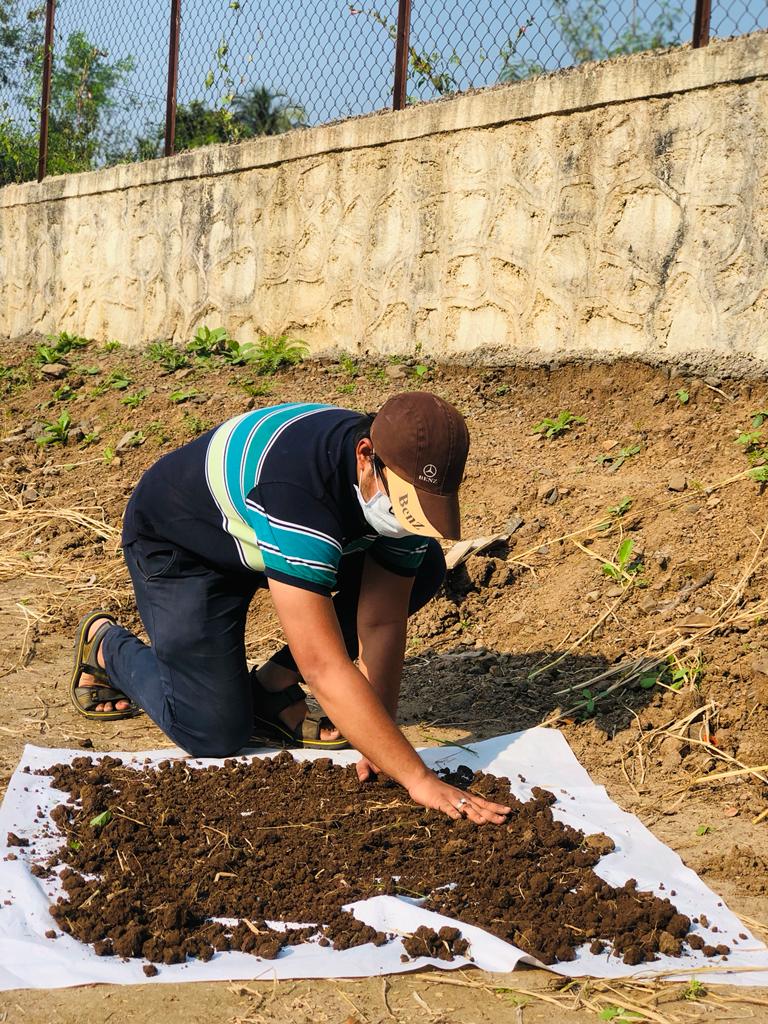
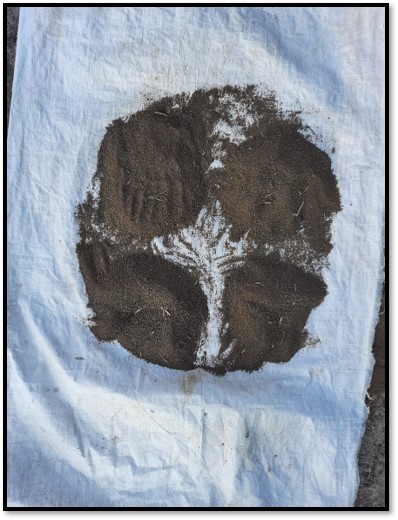
4. Sampling Technique: Identify a zig-zag pattern across the field for collecting samples. Avoid sampling near wells, water tables, animal shelters, garbage dumps, swampy areas, or under buildings and trees. Clear the area of mulch and weeds, and dig a V-shaped pit about 22.5 cm deep. From one side of the pit, extract a 4 cm-thick soil slice with a weeding hook. Collect soil from 10-12 points following this method. Mix the collected soil on a tarpaulin, remove stones and plant roots, then reduce the sample by halving it twice until only half a kilo of soil remains. This sample should be placed in a clean cloth bag. The depth of the sample depends on the crops you intend to grow:
– Seasonal crops (e.g., rice, groundnut): 20-25 cm
– Horticultural crops (e.g., sugarcane, banana): 30-40 cm
– Orchard crops (e.g., mango, cashew nuts, coconuts, betel nut): 60 cm
Information to Include with the Soil Sample
Along with the soil sample, be sure to include the following information:
1. Sample number
2. Date of sampling
3. Farmer’s full name
4. Complete address
5. Depth of the sample
6. Slope of the land
7. Land drainage
8. Crops planned for the next season
Seal the sample and send it to the nearest soil testing laboratory.
Assessing Soil Texture with the ‘Feel’ Method
The ‘Feel’ method is a traditional technique for assessing soil texture. It involves squeezing the soil between the thumb and forefinger. The soil’s texture is identified based on the sensation it gives: if it feels sticky and forms a ribbon when squeezed, it contains more clay; if it feels gritty, it’s sandier; and if it’s smooth, it’s higher in silt. This simple method allows farmers to get a quick estimate of the soil’s composition directly in the field.
By following these guidelines, you can ensure that your soil sampling is accurate and provides valuable insights for your agricultural practices.